Controleer altijd het voorbeeld
Na de upload zie je welke vectorlijnen zijn herkend en wat is overgeslagen. Ga pas verder als het voorbeeld klopt met wat je wilt laten maken.
Upload je bestand →

Full manual
From the first vector file to a controlled order. Part 1 uses real portal screens to show how to set up a job. Part 2 explains how to properly construct a production drawing with visual examples.
Make sure you have the correct version of each design. Note the desired size and quantity, any modifications, the material, and the thickness. Also consider which production and delivery option fits your schedule.
For online ordering, you will need a production-ready AI, EPS, DXF, SVG, or PDF file with vector lines. A JPG or PNG is not a production drawing. If you do not yet have a usable file, start with part 2 of this manual.

Part 1 — Using the Online Portal
For each file, you set the format, quantity, operations, material, and thickness. Then the portal shows the available production and delivery options, and you can order directly or save a quote.
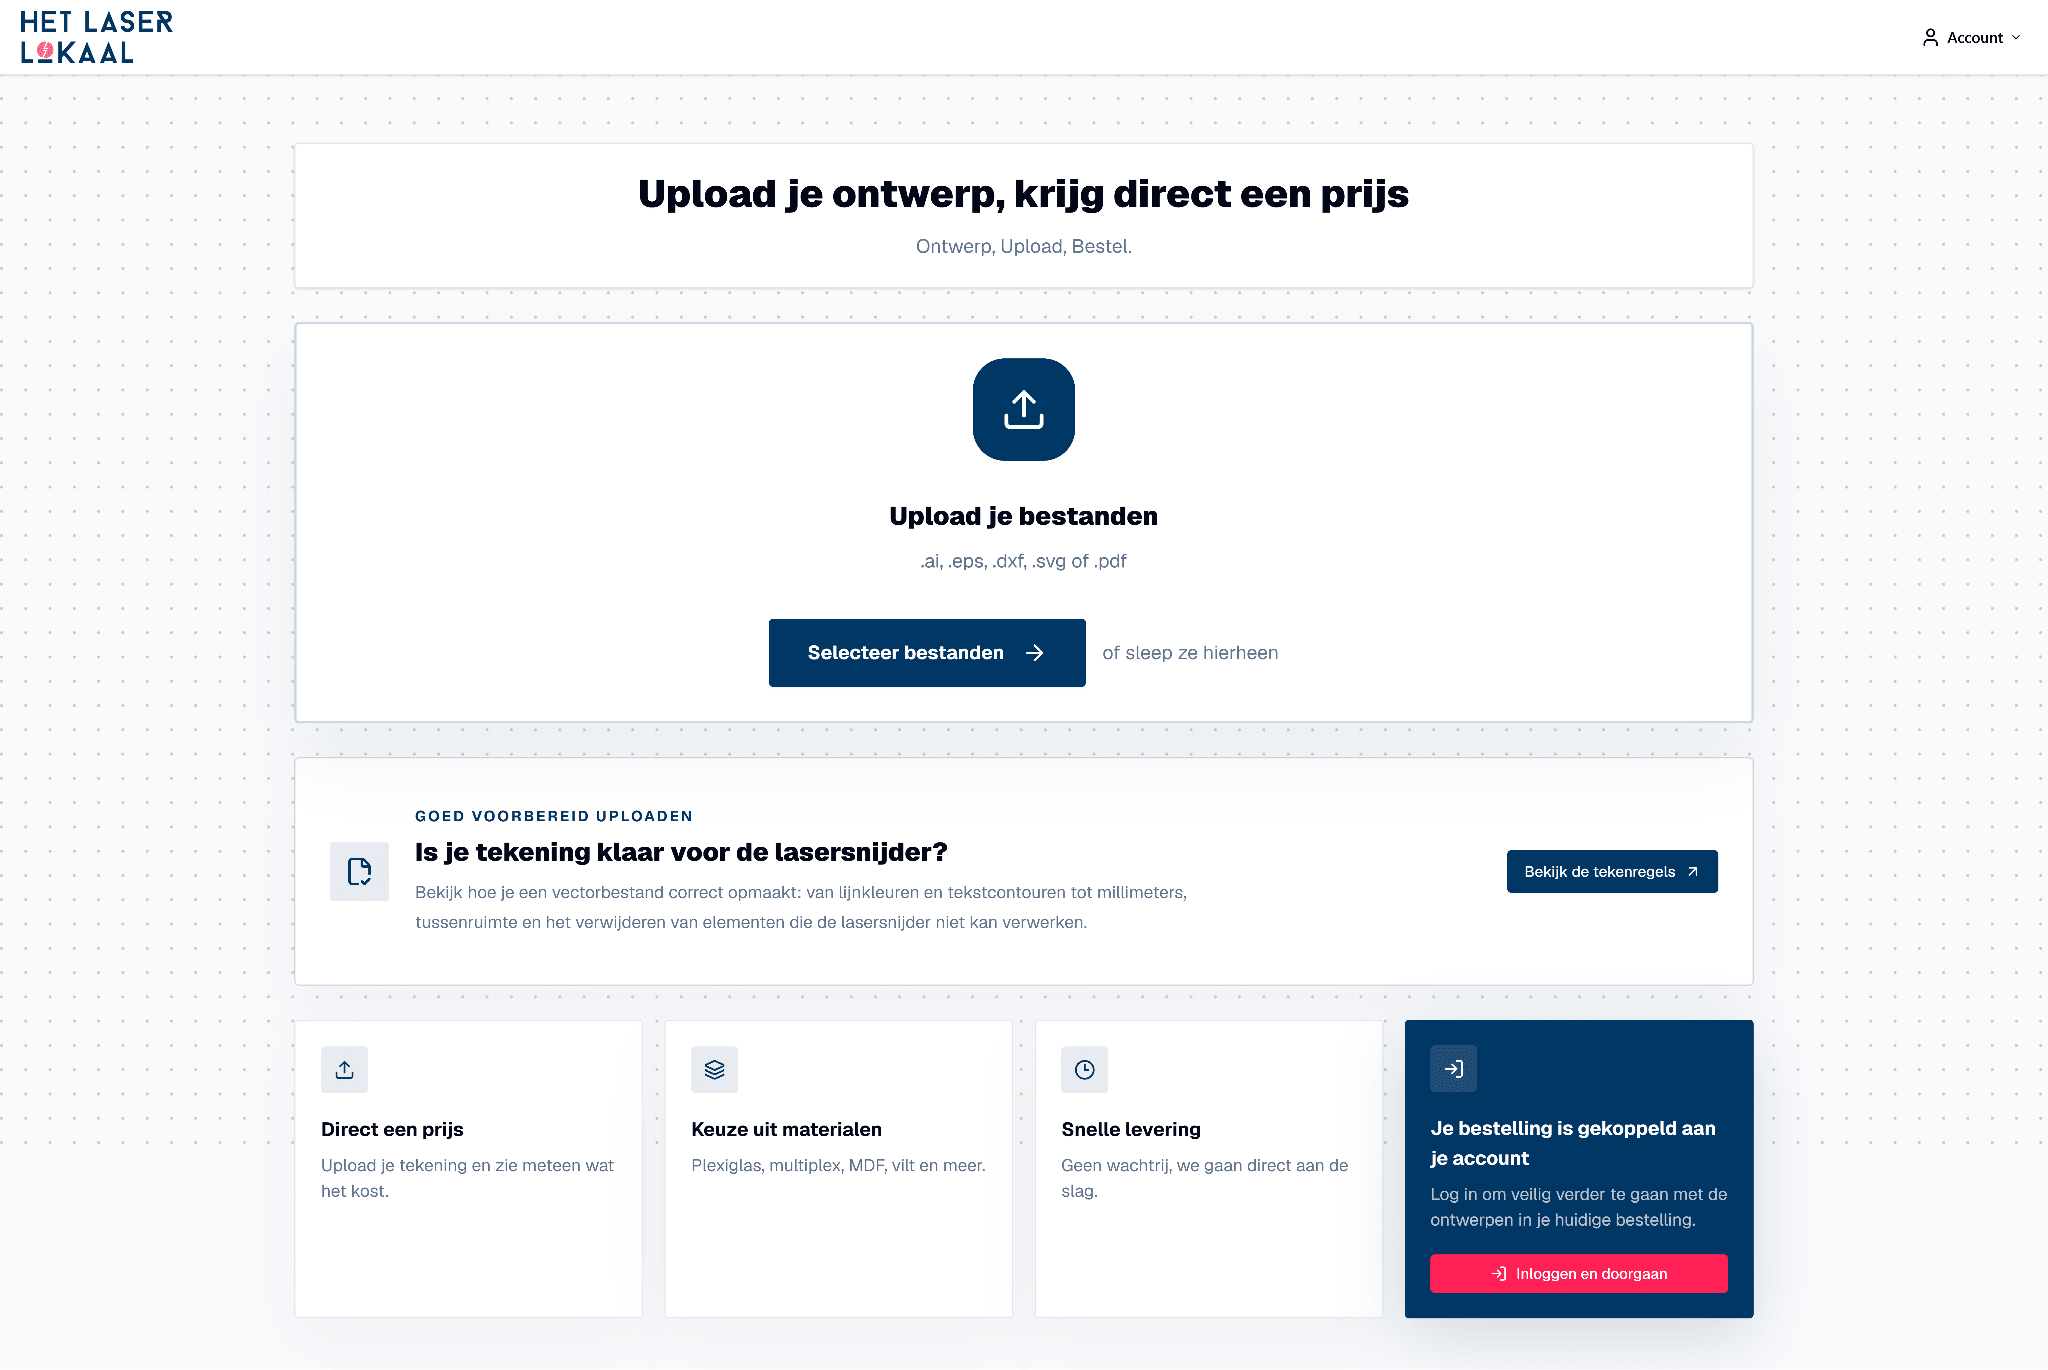
Upload one or more AI, EPS, DXF, SVG, or PDF files. Different designs can be combined within a single order. Compare the upload preview with the source file and check the outer contour, holes, letters, small details, and engravings.
Read notifications in full. A notification may relate to one component while other vector lines have been processed correctly.
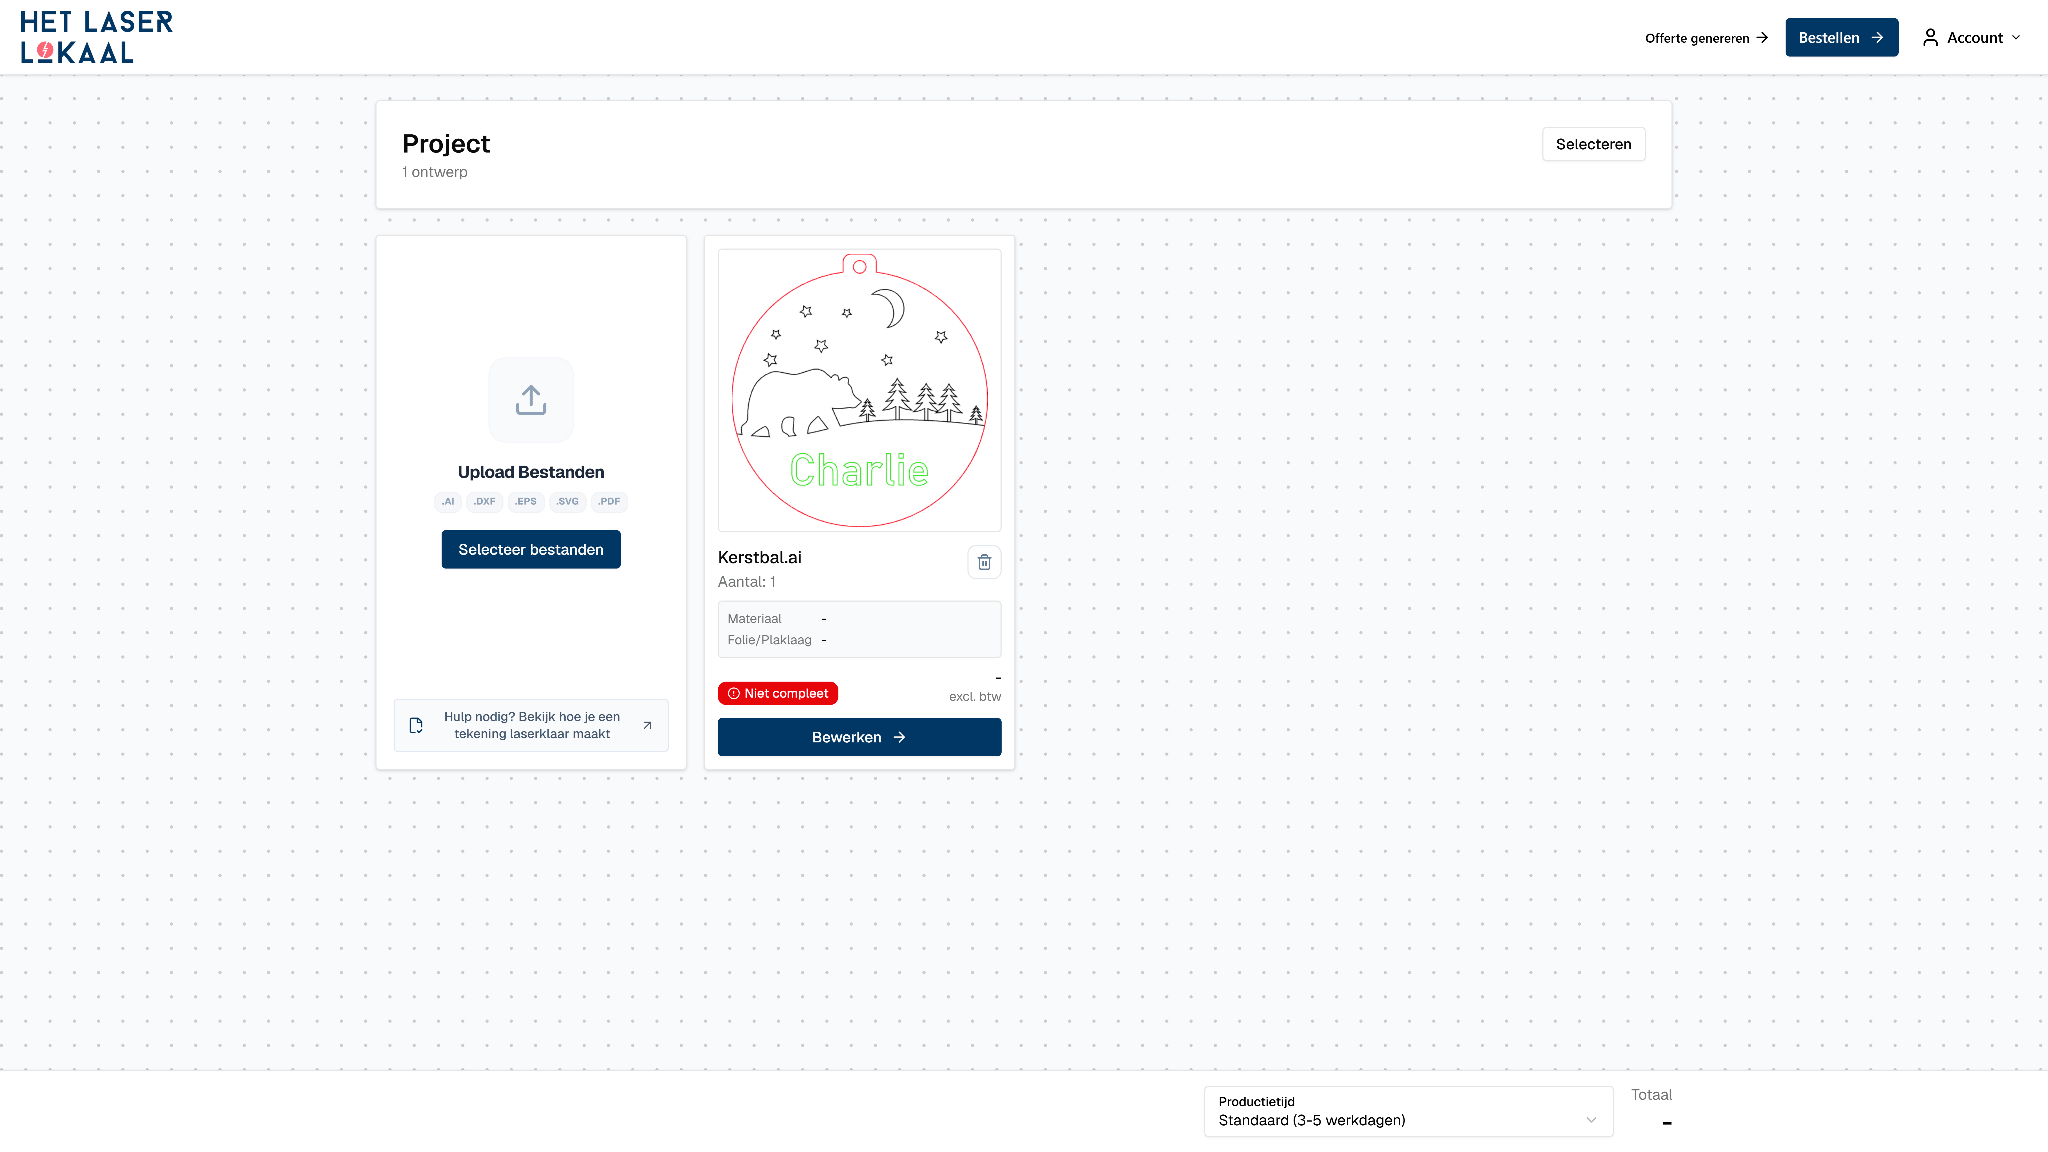
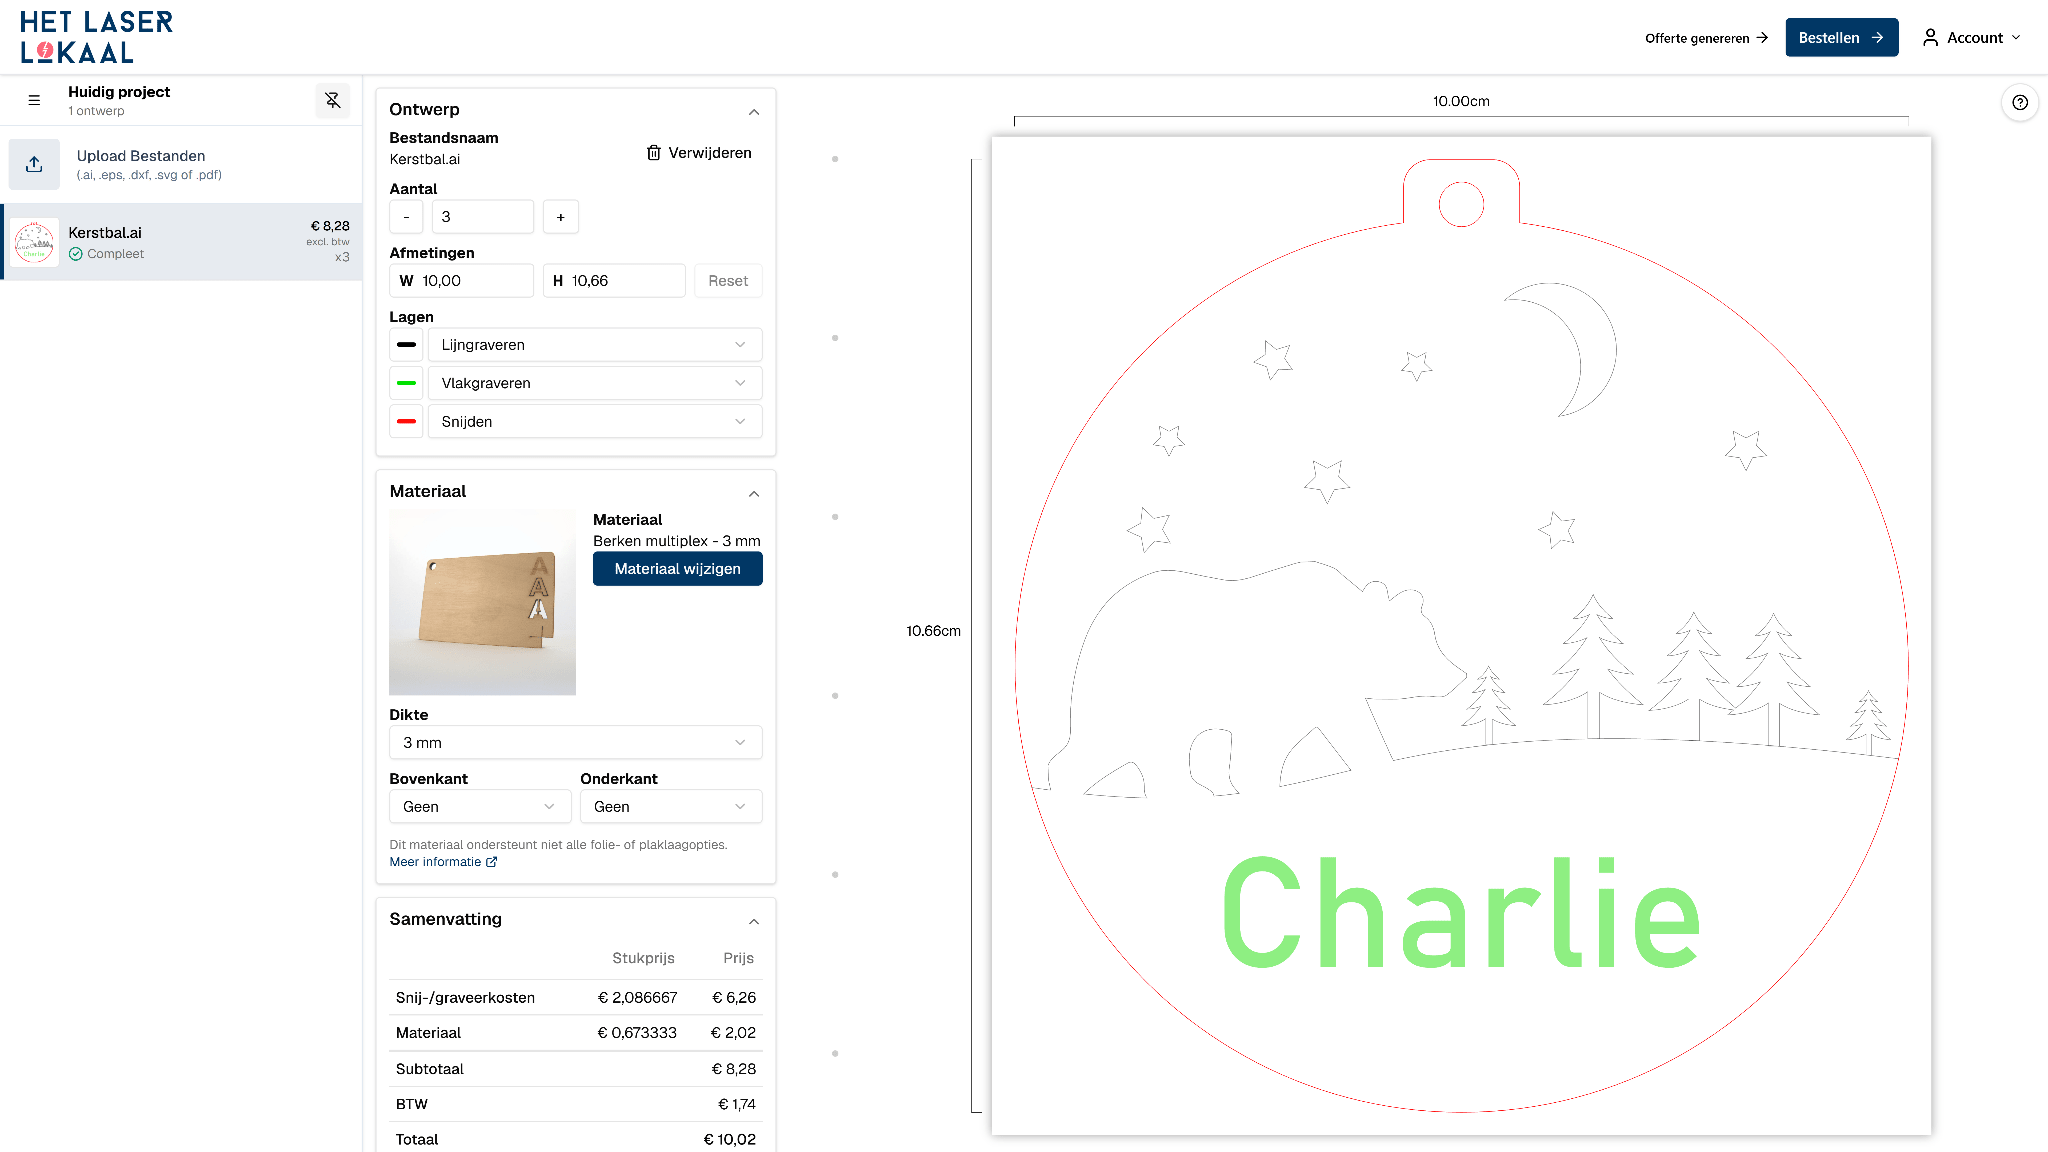
Open each file via 'Edit'. Check the dimensions and enter the desired quantity. If a single file contains multiple parts or a complete set, check what exactly constitutes one item.
If a size is incorrect, preferably adjust it in the source file and re-export. This way, a later repeat order will also remain clear.
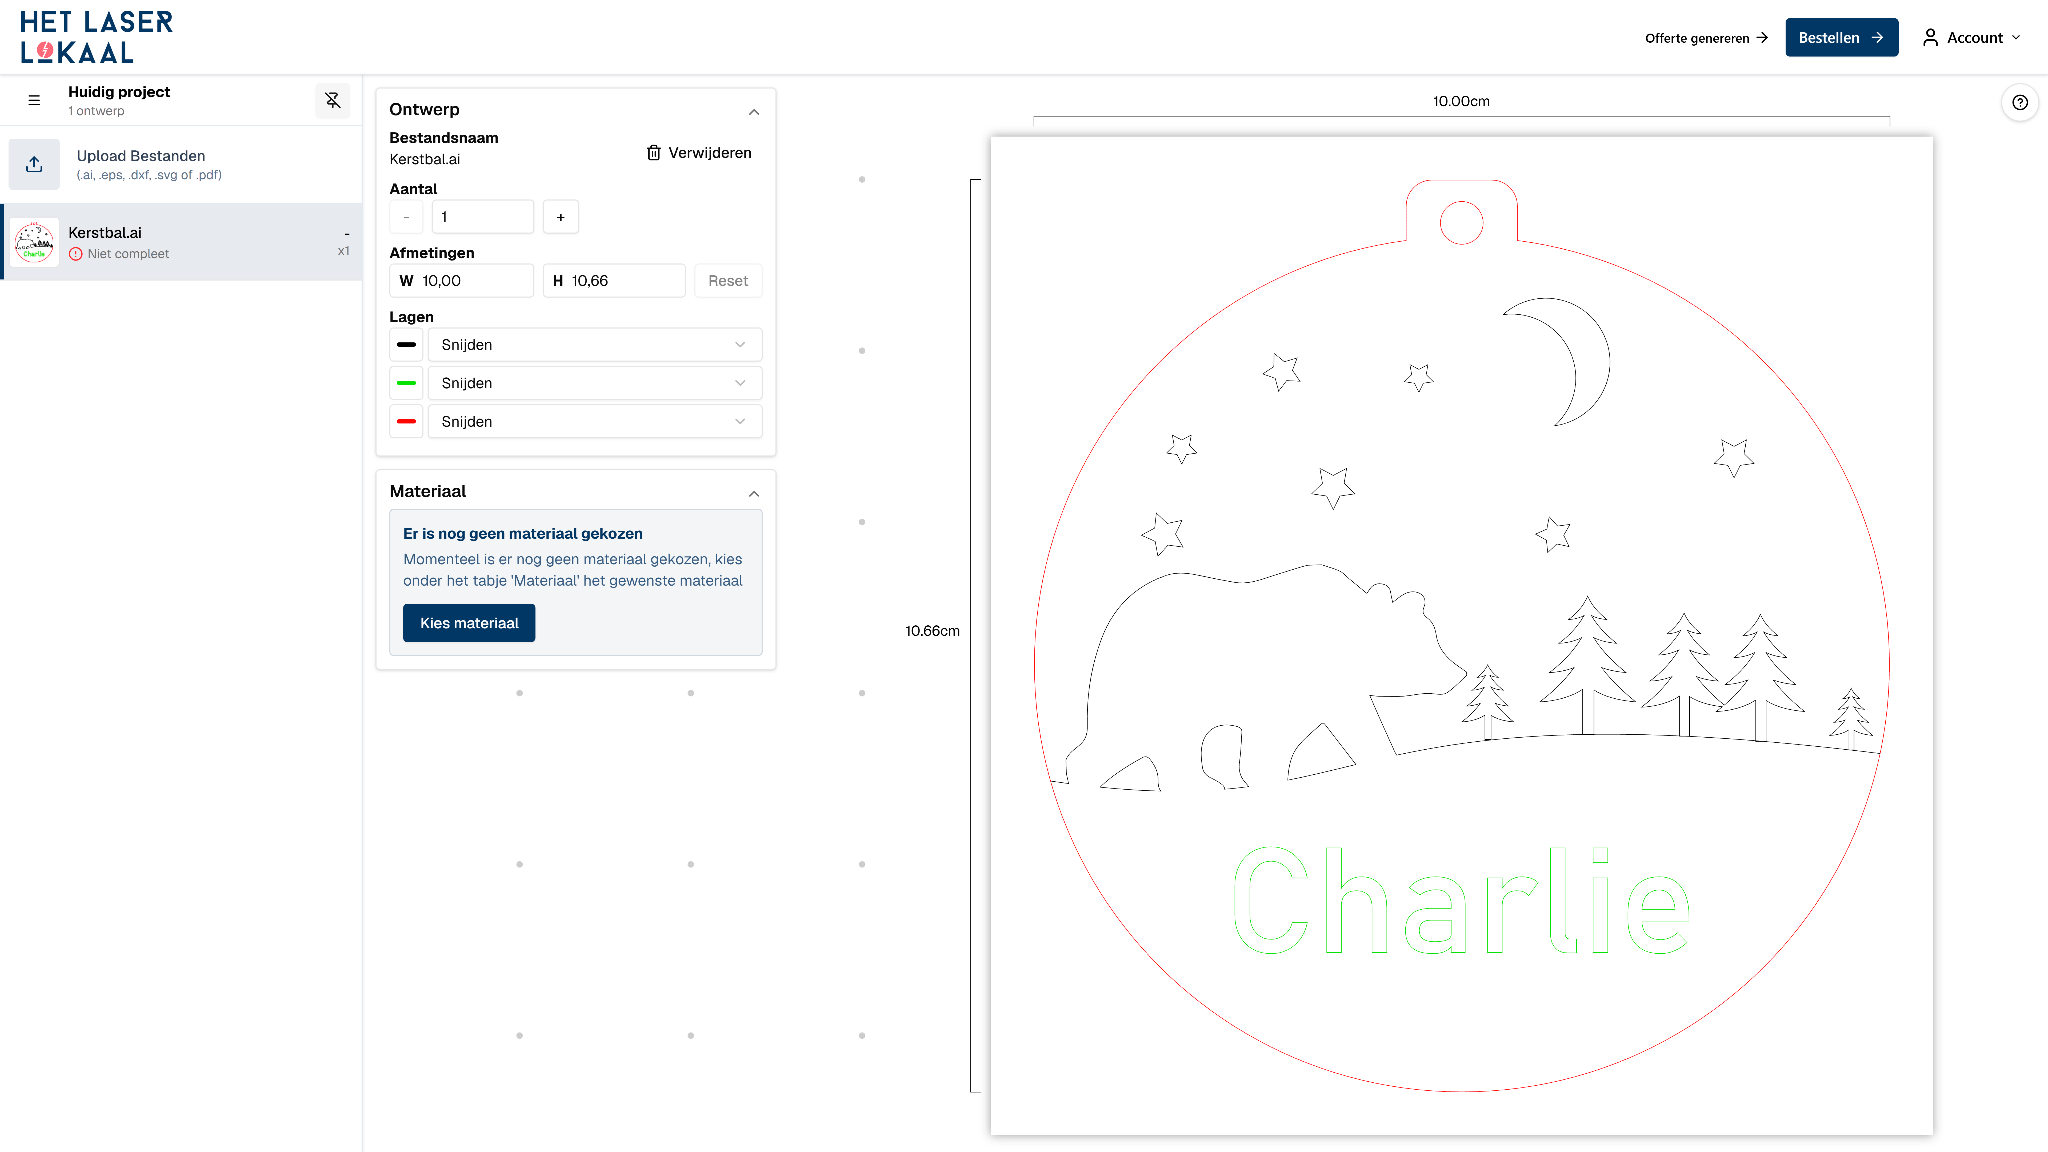
The portal groups visible vector lines by color. Assign for each color what needs to be done with it: cutting, line engraving, or area engraving. The line color does not automatically determine the operation.
Check the preview again. For example, a logo that needs to be engraved should not be set as a cutout.
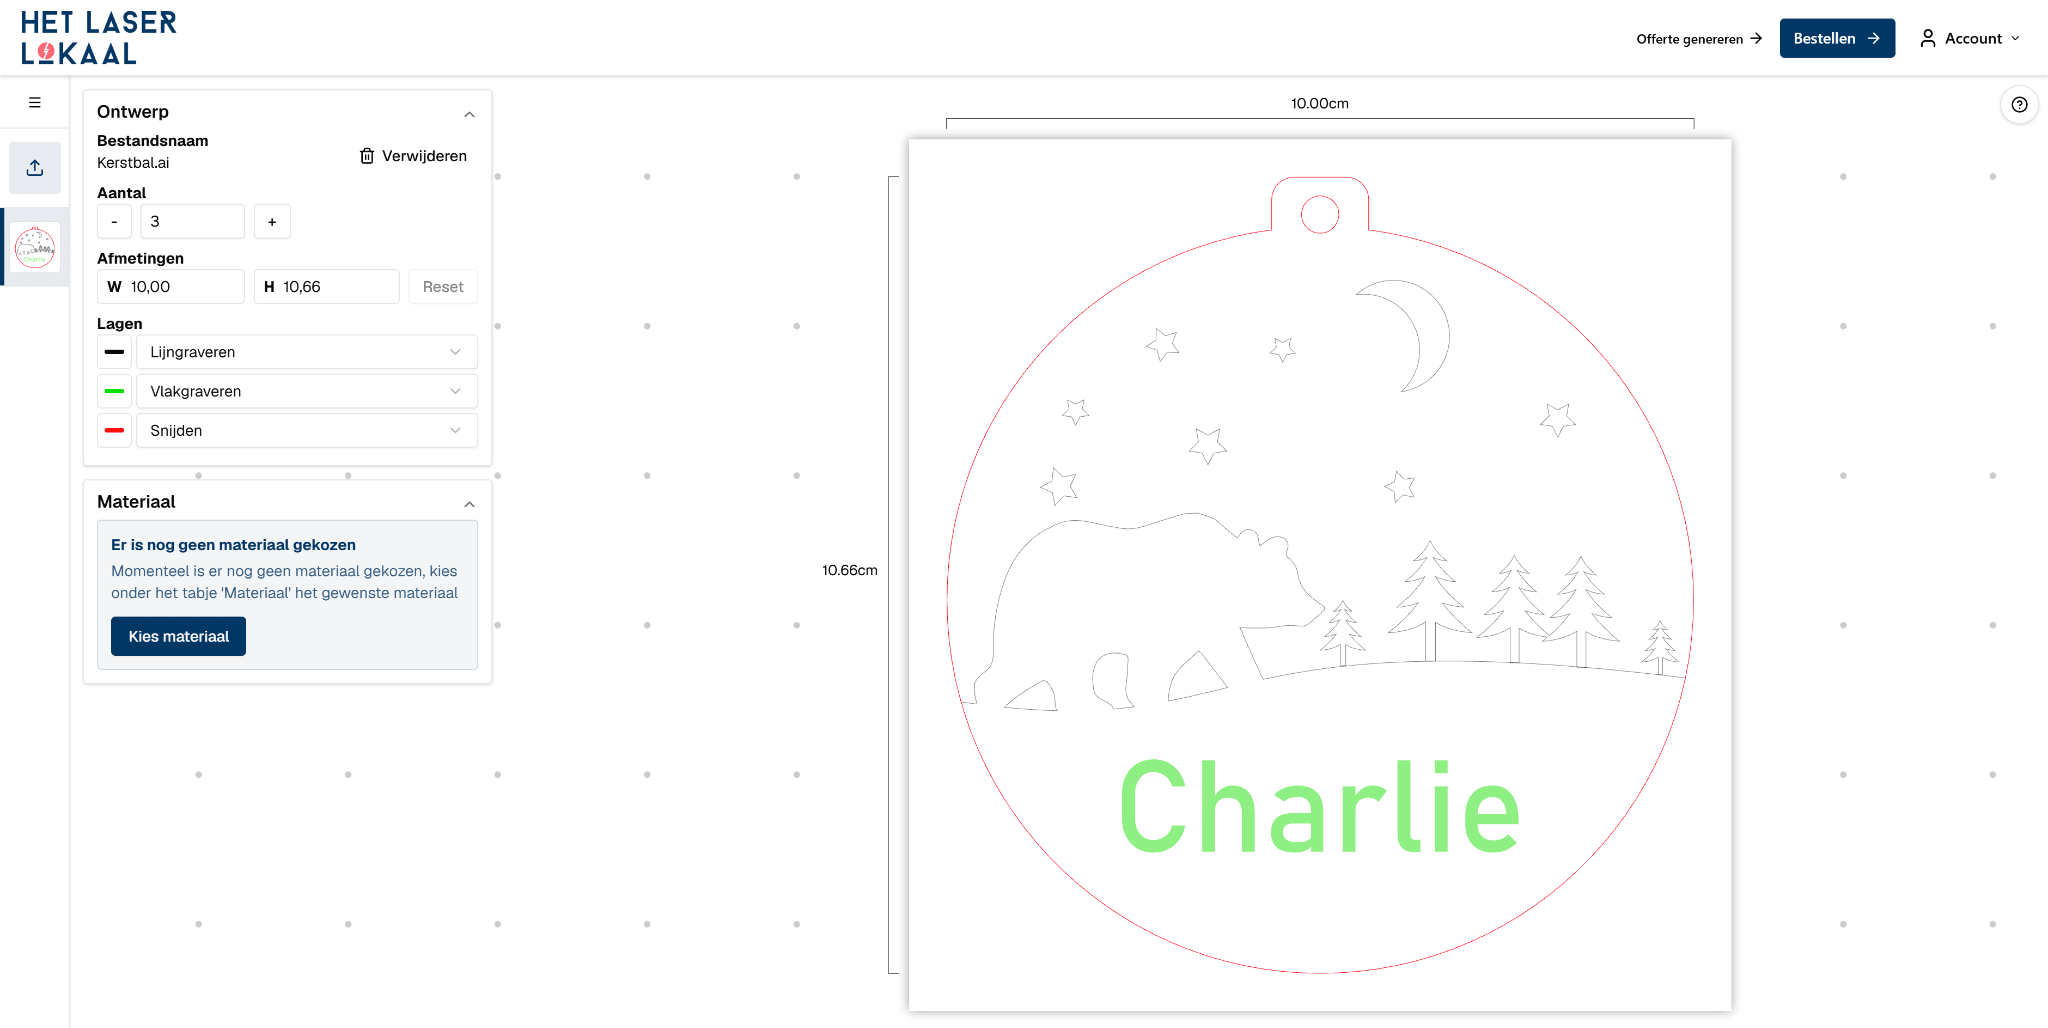
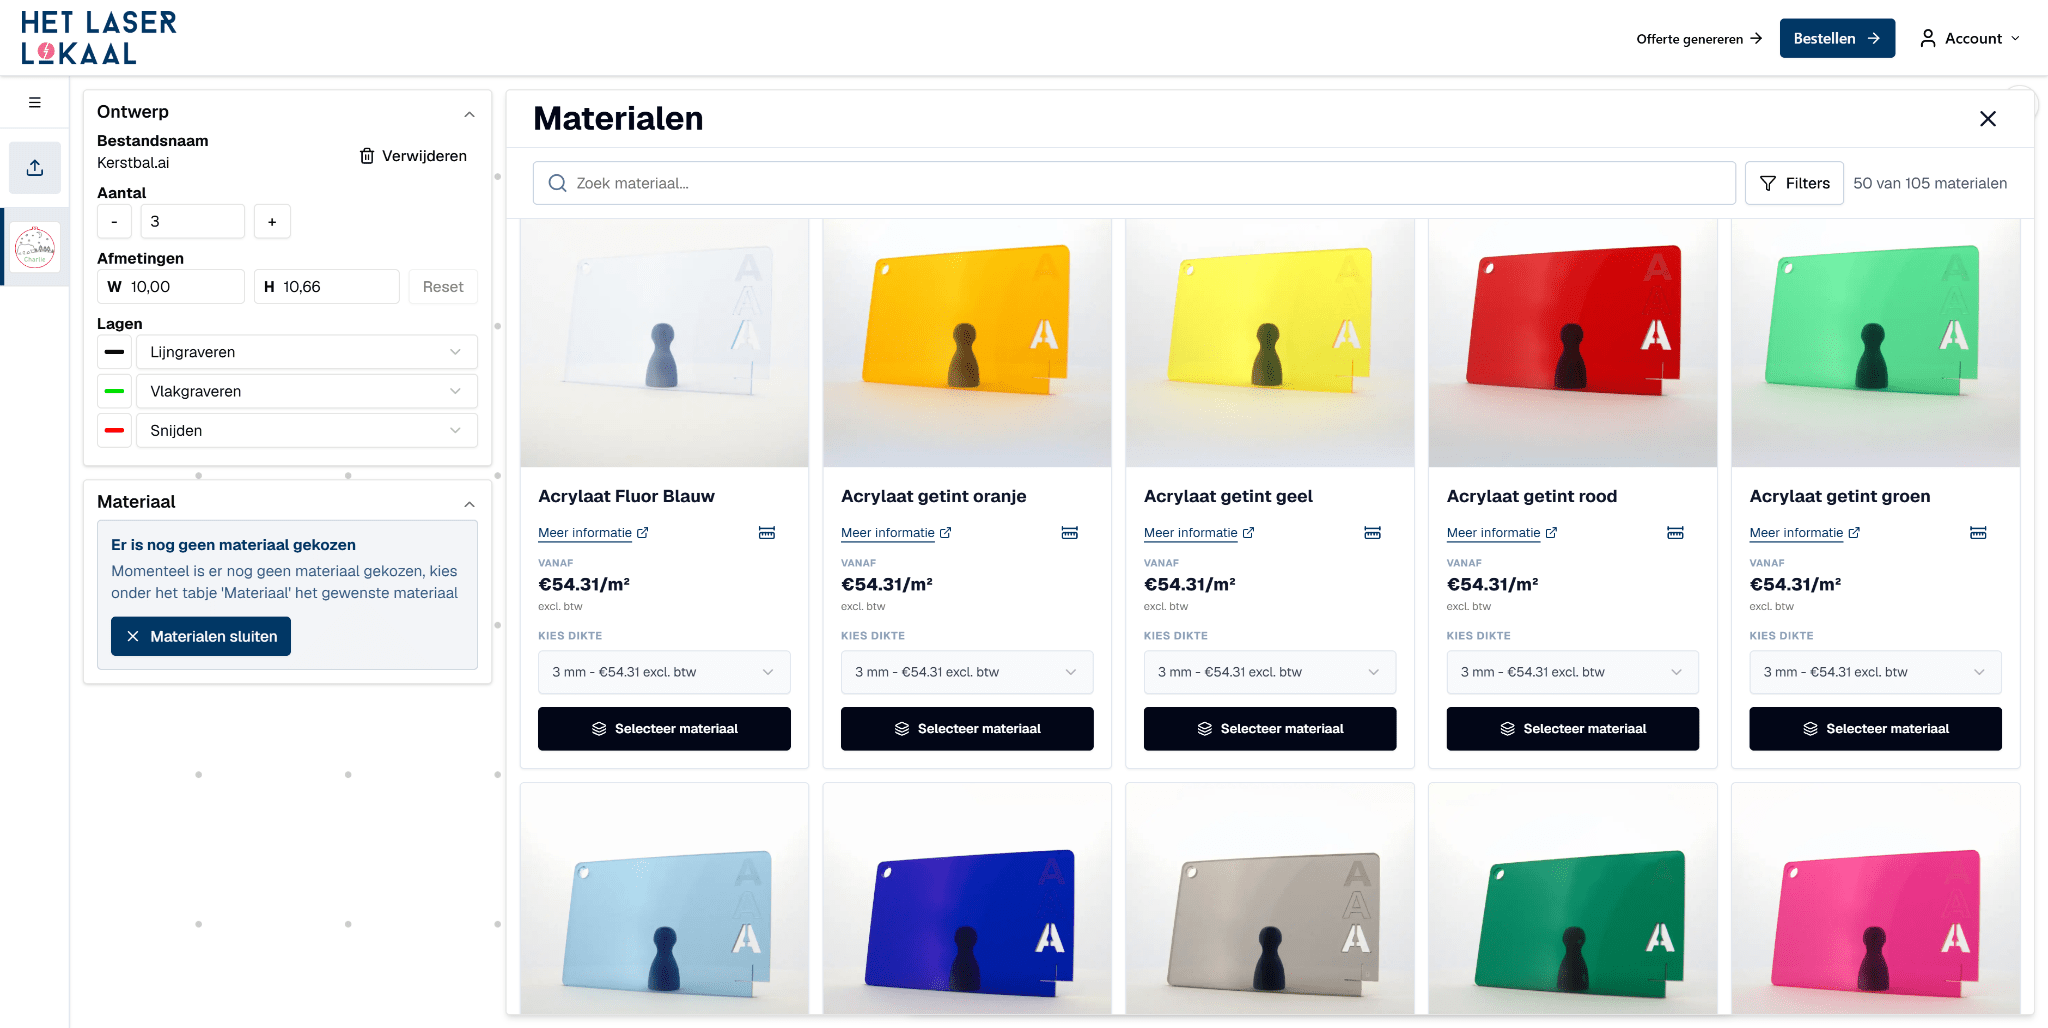
For each design, choose the material and available thickness. Material and thickness influence appearance, rigidity, cutting edge, available treatments, and price. The current options in the portal are leading.
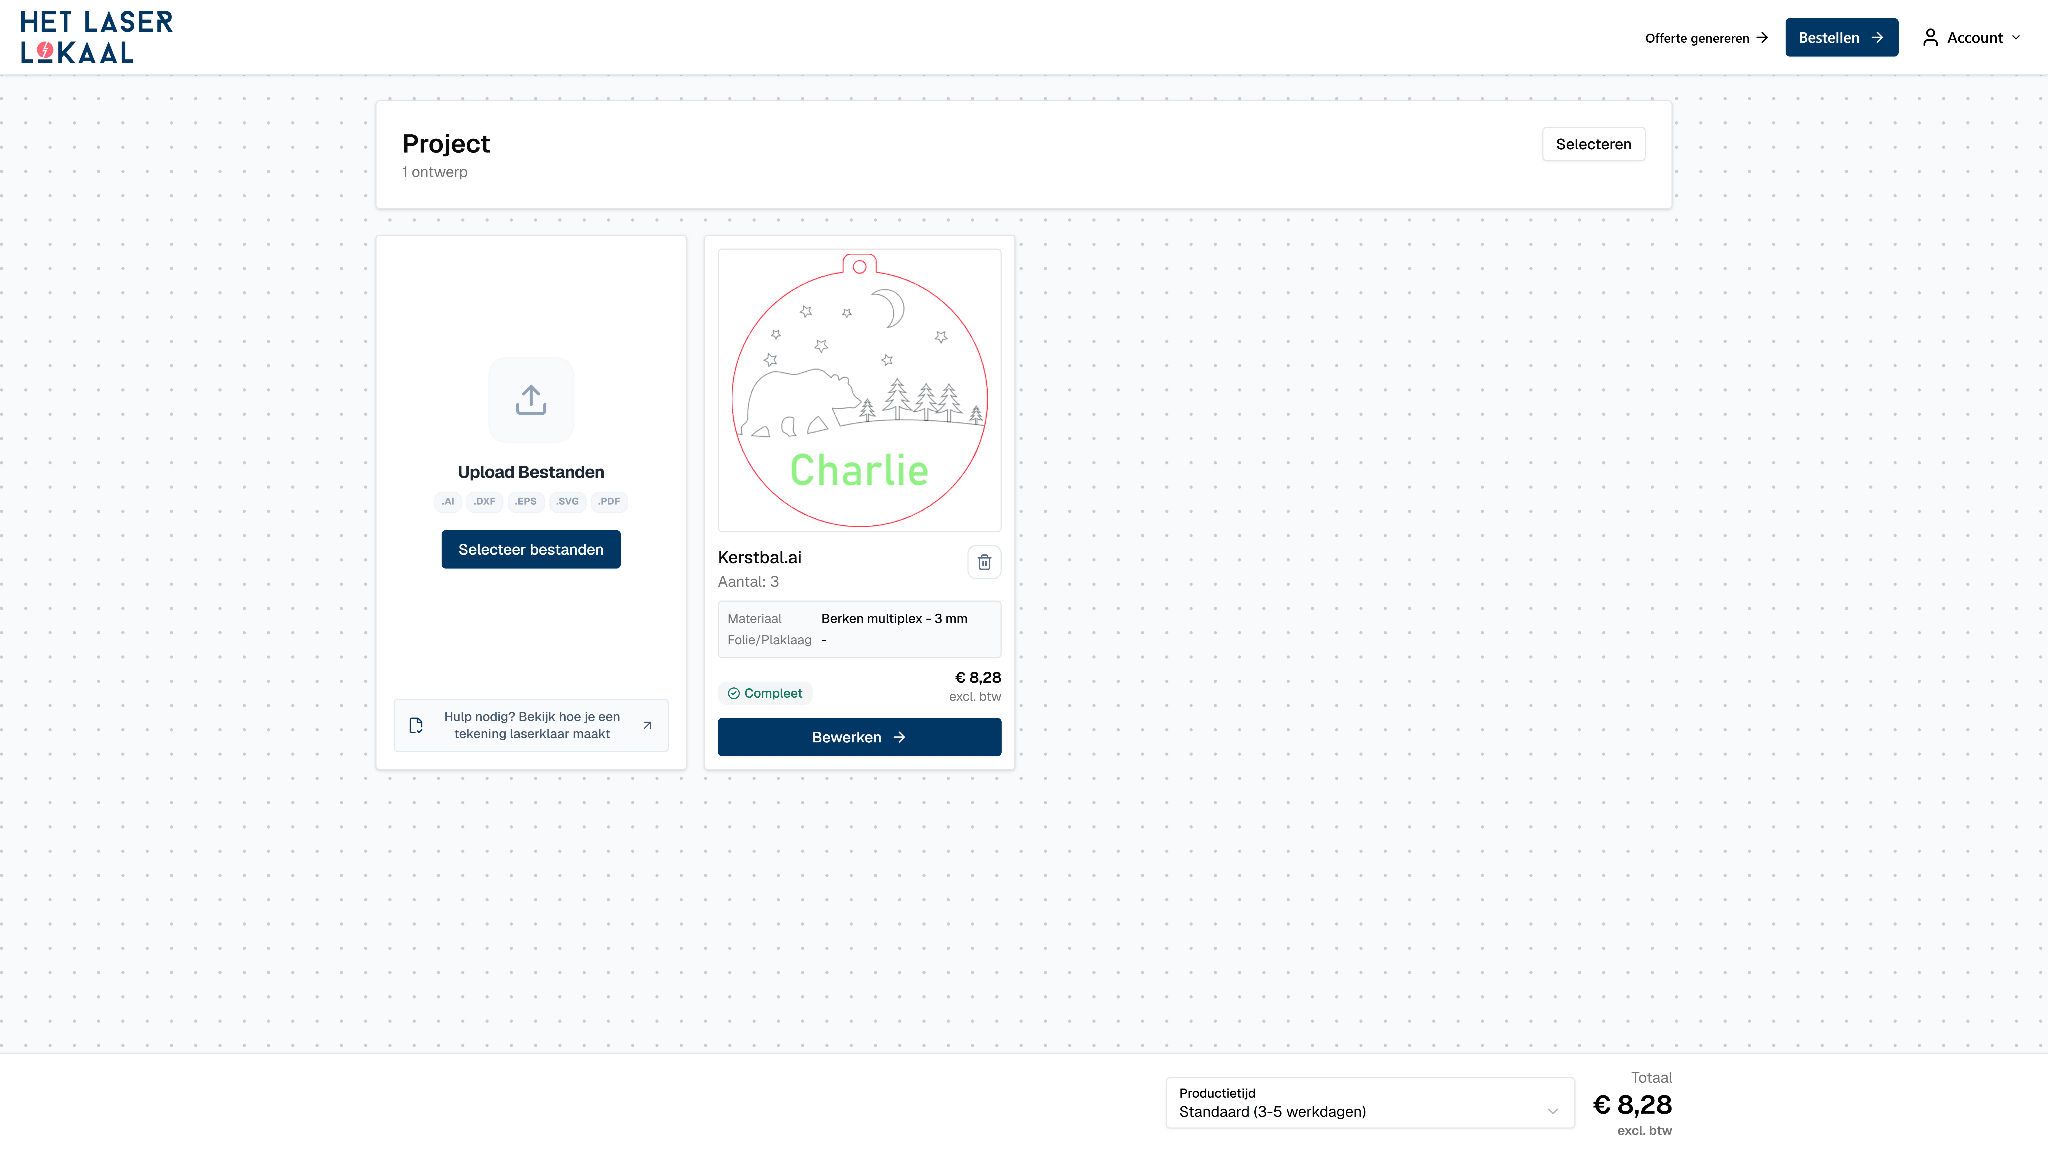
Go back to the project overview and check if every file is complete. Review quantities, materials, operations, previews, and the project total.
For a series, immediately enter the full desired quantity. The portal recalculates the entire order; a large print run does not automatically require a manual quote.
Go through Data, Shipping and Review. Choose the production speed and delivery method shown in the portal for the current order. Production and transport are two different parts of the planning.
Check addresses, payment method, any reference, residual material and total price. After completion, save the confirmation and the order number.
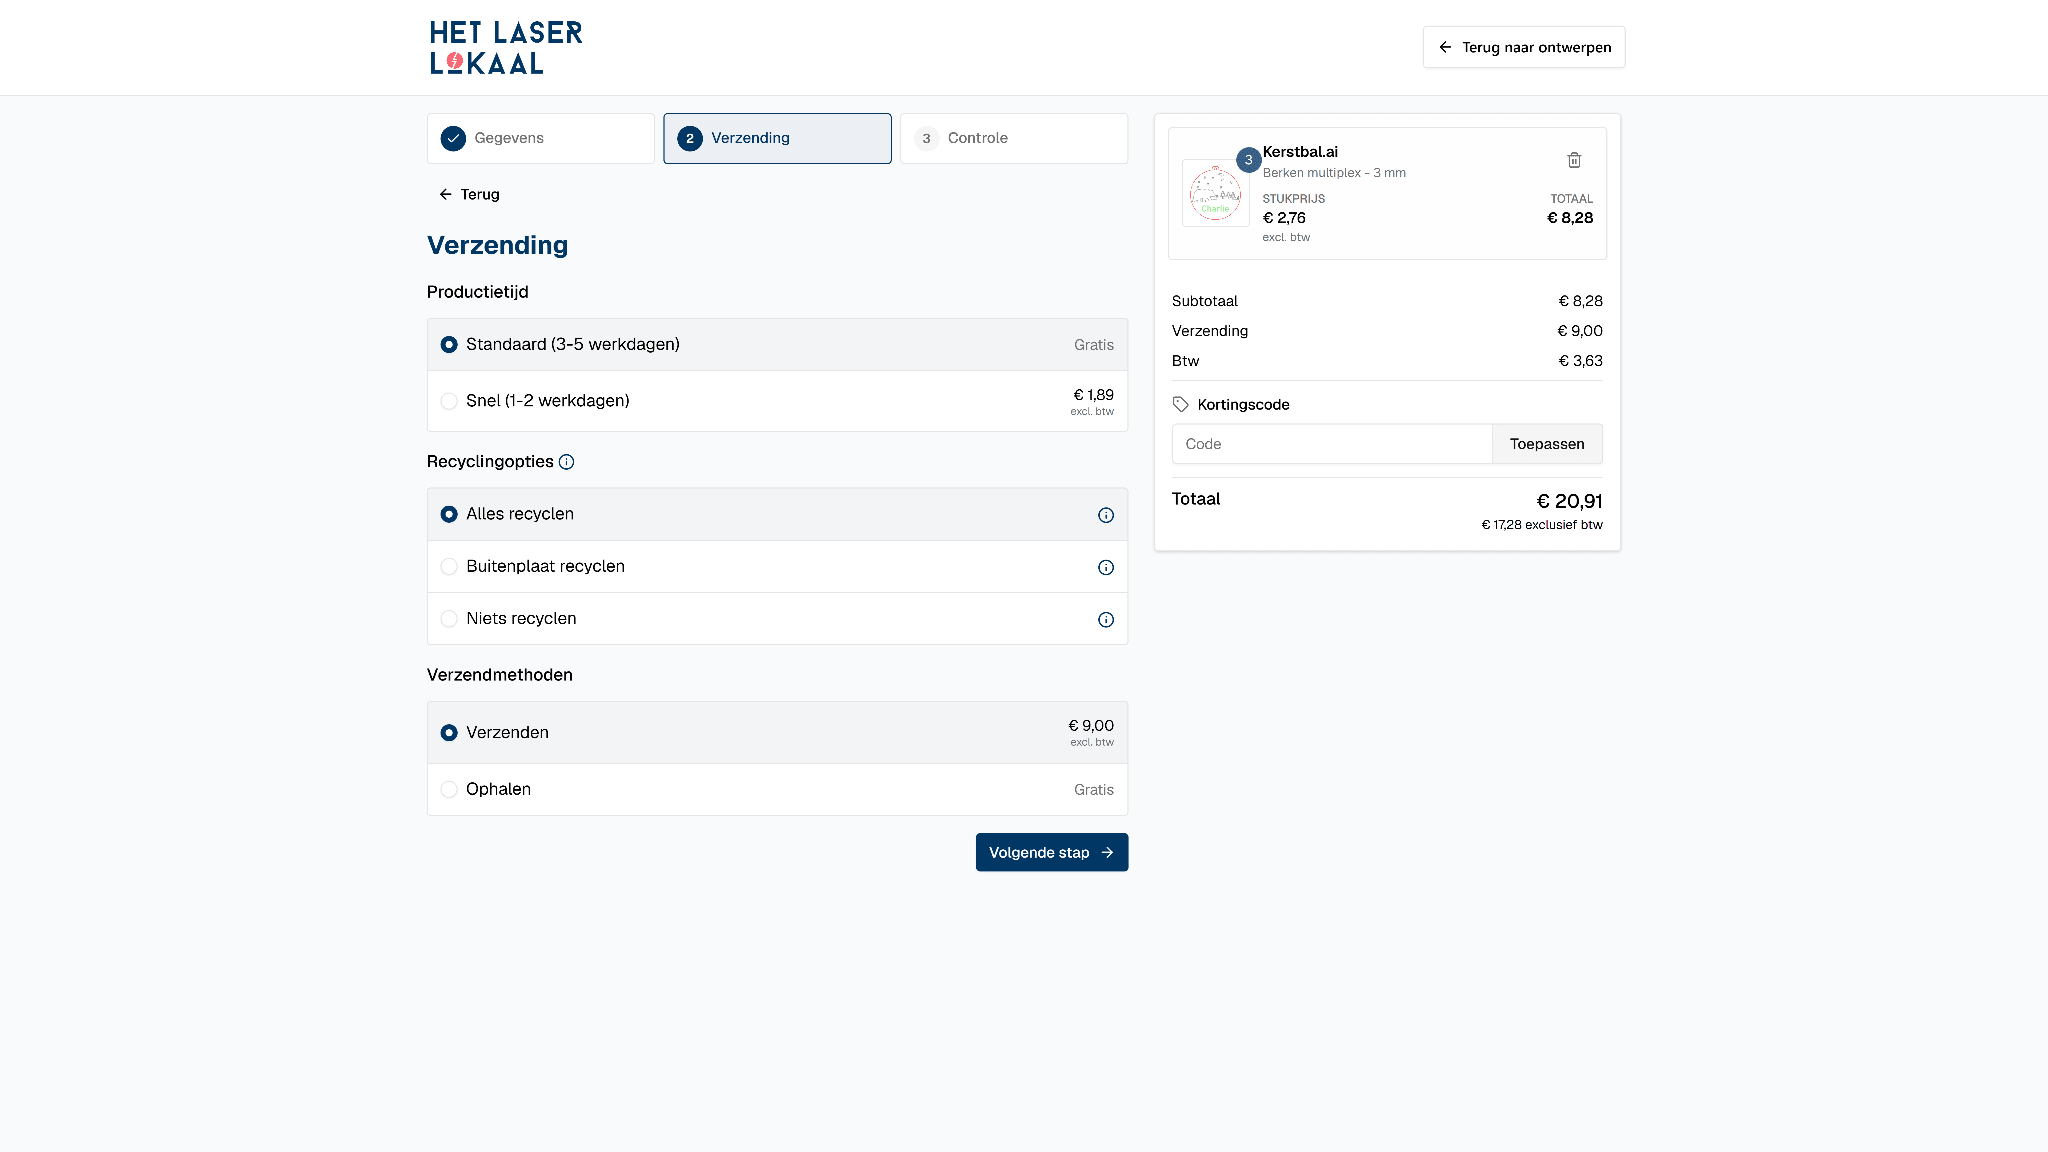
The price is determined by design, material, thickness, processing, size, and quantity. These components influence each other. Smart drawing can save material and laser time, but do not change fit, strength, or function solely to reduce the price.
Create a quote from a configured project if internal approval is required first. A quote remains valid for 30 days. A shopping cart can be saved and reopened later from your account. When resuming, always check the current price, material availability, and production options.
From your account, you can reorder a previous order. Files and settings will be adopted. Upload a new file version if the design has changed and recheck all current selections.
With a valid VAT number and the corresponding billing address, you can choose to pay on account with a 30-day term during checkout. An account is not mandatory but helps to retrieve quotes, shopping carts, and repeat orders. You can enter a PO or reference number on the checkout page.
Request manual review for your own material, product engraving on an existing product, special packaging, white-label shipping, or any other non-standard production or logistical arrangement. A high volume or order value is not in itself a reason not to order online.
The laser cutter follows the vector lines in your file. Always save the original design and create a separate production version. Remove everything that should not be produced and give each new version a recognizable file name.
The examples below always show what needs to be done before the upload and what you then check in the portal.
Visual drawing guide
Use the topics on the left to check each part of your file. Each example shows the difference between a vulnerable build and a production-ready drawing.
Tekenregel
Use an AI, EPS, DXF, SVG, or PDF file containing only the vector lines required for production. A photograph, scan, or pixel image does not become a production drawing by simply changing the file extension.
Work with a CAD or vector drawing program, such as Fusion, AutoCAD, Rhino, Adobe Illustrator, Inkscape, or CorelDRAW. Photoshop is a pixel-based program and does not create production drawings for laser cutting. The laser follows the vector path, not a visual line thickness or brush shape; simply changing the file extension does not convert the content.
Work in millimeters and at actual size. Check at least one known external dimension, and for fitting parts, also check cutouts, mounting holes, and connections. Reopen the exported file before uploading.
Tekenregel
Give every shape to be produced a visible, supported line color. A colored area alone is not sufficient, and white lines may disappear in the preview.
Use the exact color value: Black #000000, Blue #0000ff, Red #ff0000, Green #00e000, Yellow #d0d000, Orange #ff8000, Cyan #00e0e0, Pink/Magenta #ff00ff or Gray #b4b4b4. Colors may be in the same layer or in different layers.
Tekenregel
Group lines that receive the same operation with the same color. After uploading, assign cutting, line engraving or area engraving per color.
An area engraving requires a completely closed vector shape. Do not use a white area or mask to simulate a cutout and merge overlapping engraving areas.
Tekenregel
Convert all editable text to outlines or vector paths. Then, check the inner shapes of letters such as A, B, and O. In cut-out letters, these parts can become detached; add connections if they need to remain in the material.
Tekenregel
Two lines in exactly the same place look like one, but can be processed twice. Check edges where copied parts meet.
Also, merge overlapping closed engraving shapes into one surface. This prevents extra laser time and an irregular result.
Tekenregel
Place parts compactly and use free space where useful. Maintain a minimum of 5 mm between individual parts and a minimum of 5 mm from the plate edge.
The actual material thickness and kerf affect a fit. For a new critical connection, first make a test part; a material sample does not replace a fit test.
Tekenregel
Remove pixel images, masks, guides, hidden objects, loose points and elements outside the artboard. Automatic tracing can result in jagged contours, extra points and double lines.
After uploading, compare the outer contour, holes, letters, engravings and dimensions with the source file. Correct an error in the drawing, re-export and check the new preview.
Meest voorkomende fouten
Hieronder staan de meest voorkomende fouten. Meer informatie vind je op de hulppagina en in de volledige handleiding.
Controleer of iedere te bewerken vorm een zichtbare lijnkleur heeft. Witte, kleurloze of uitsluitend gevulde objecten worden niet als lijn herkend.
Zet bewerkbare tekst om naar contouren of vectorpaden, zodat het lettertype niet meer nodig is om de vorm te lezen.
Controleer of de vorm volledig gesloten is en niet met maskers, witte vlakken of overlappende vormen is opgebouwd.
Werk op ware grootte in millimeters. Controleer bij DXF-, SVG- en PDF-bestanden extra zorgvuldig of de geëxporteerde maat overeenkomt met je tekening.
Verwijder verborgen objecten, maskers, hulplijnen, losse punten en elementen buiten het tekengebied.
Vereenvoudig onnodig grote aantallen punten en controleer de exporteenheid. Gebruik geen visuele effecten die geen echte vectorpaden zijn.
Na de upload zie je welke vectorlijnen zijn herkend en wat is overgeslagen. Ga pas verder als het voorbeeld klopt met wat je wilt laten maken.
Upload je bestand →Foto's en andere pixelafbeeldingen worden niet geproduceerd. De geldige vectorlijnen kunnen wel behouden blijven. Bekijk of je de afbeelding wilt verwijderen, naar vectoren wilt omzetten of op een bestaand product wilt laten graveren.
Meer over foto's en pixels →Bekijk de hulppagina voor vragen over je bestand, het bestellen of een bestaande bestelling.
Naar hulp →Use 'Report a problem' in the order environment and describe which step is failing and what you are seeing. Where possible, add a screenshot. If the question is about an existing order, please contact customer service and state the order number.
Upload your production drawing, set material, operations, and quantity, and see the current price immediately.